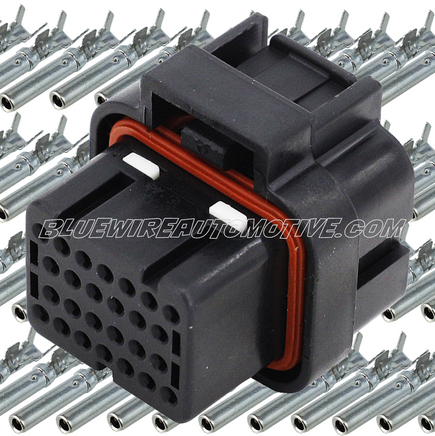
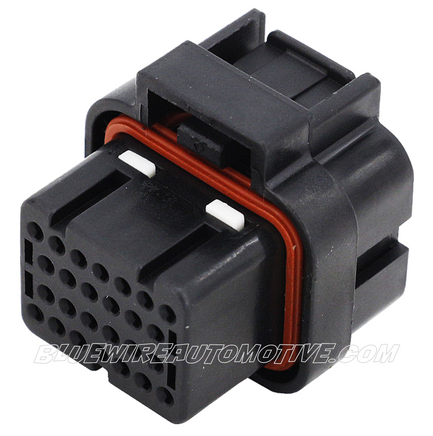
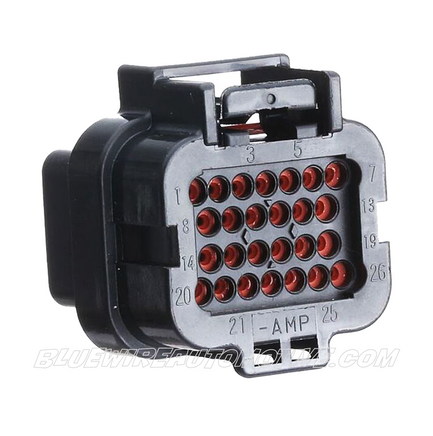
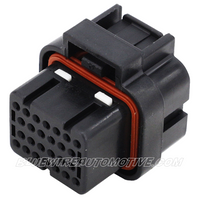
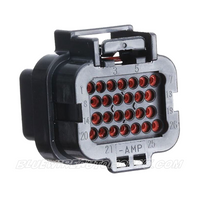
AMP SUPERSEAL ECU CONNECTOR PLUG + 26pin - BWAP0041
This is our 26pin Tyco AMP TE 1.0 Superseal Series ECM ECU connector plug for many universal ECU connections.
Slotted: 2-Top & 1-Bottom
34 Rectangular Connector - Housings Plug Black 0.118" (3.00mm)
Some Applications include
GSXR1300 Hayabusa ECU (99'-07')
YZF-R1 2009-2011 ECU
DTAfast ECU's: S40, S60, S80, S100
GSXR1300 Hayabusa ECU (99'-07')
YZF-R1 2009-2011 ECU
DTAfast ECU's: S40, S60, S80, S100
HELTECH:
Platinum Sport 1000
Platinum Sport 2000
Elite 550
Elite 750
Elite 1000
Elite 1500
Elite 2000
Elite 2500
Platinum Sport 1000
Platinum Sport 2000
Elite 550
Elite 750
Elite 1000
Elite 1500
Elite 2000
Elite 2500
MOTEC:
ECU M84, M400, M600, M800, and M1 series ECU M130, M142, M150
Power Distribution Module's: PDM15, PDM30
Expansion box E888
Dash Logger's: CDL3, C125
ECU M84, M400, M600, M800, and M1 series ECU M130, M142, M150
Power Distribution Module's: PDM15, PDM30
Expansion box E888
Dash Logger's: CDL3, C125
WOLF:
Tuner series street, sport & off-road
V500/550
V4X
Tuner series street, sport & off-road
V500/550
V4X
EMTRON:
KV8
KV12
KV16
KV8
KV12
KV16
AEM:
Link and Vi-PEC ECU's
Link and Vi-PEC ECU's
Att:: This plug image is exactly what you will receive so please check your ECU to make sure it is correct.
Others may look the same but may have different top slots.
Part No:: BWAP0041
PIN REMOVAL:
The great thing about this connector, is that you don't need a pin removal tool to remove the pins. On the underside of the connector is a single white plastic line. Push that single white plastic piece in, and it will unlock the pins. You will also see two smaller tabs sticking up on the top side of the connector. This indicates that the connector pins are unlocked. The two smaller tabs also stop you from plugging in the connector when you disabled the pin lock. Now you can pull out or insert pins as you need. To lock the pins in place, you simply push in the two small white tabs on the top side of the connector down. You can now plug the connector back in.
The great thing about this connector, is that you don't need a pin removal tool to remove the pins. On the underside of the connector is a single white plastic line. Push that single white plastic piece in, and it will unlock the pins. You will also see two smaller tabs sticking up on the top side of the connector. This indicates that the connector pins are unlocked. The two smaller tabs also stop you from plugging in the connector when you disabled the pin lock. Now you can pull out or insert pins as you need. To lock the pins in place, you simply push in the two small white tabs on the top side of the connector down. You can now plug the connector back in.
Our brands


